Editor’s Note: This post originally published in January 2018 and has been updated for accuracy and comprehensiveness.
Views in SharePoint are similar to reports on data. The better the reports, the better the consumption of the data. As we work with so much information, we can get to what we’re looking for faster and become more efficient.
In this blog post, I’ll share the top 10 tips to help you make the most out of creating and using views in SharePoint Online Document Libraries and Lists.
Tip #1: Never edit the default view
List and libraries in SharePoint are created with a default view. It’s either All Items or All Documents.
I have a rule to never edit these default views. It sounds crazy, but believe me, I’ve broken a default view and then struggled to view the content again. I’d much rather create a view and edit that view, leaving the SharePoint default view as is. That way, I always have a “untouched” view to fall back on.
To create a new view:
- Click on Settings
- Select Library Settings (or list settings)
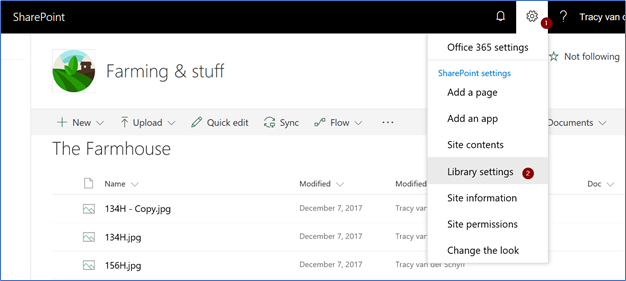
At the bottom of the Settings page, you’ll see the views. Click on Create View:

You now have templates to choose from.
- Standard View is similar to the All Documents view you get with the app.
- Datasheet View displays data in the Quick Edit view.
- Calendar View is for items that have start and end dates. There are also other column requirements, and they are best used for Calendars and Tasks.
- Gantt View is a great view to use on Task Lists.
Initially, it’s easier to copy an existing view (as you already know what it looks like). Click on Start from an existing view > All Documents:

Tip 2: Understand the different settings
Note: Some of these settings are not working yet in the new modern libraries and lists. If the setting is not working as expected, keep in mind that Microsoft might be updating the settings on views. These tips can be applied to your SharePoint 2010, 2013, 2016 and 2019 environment as well.
Name
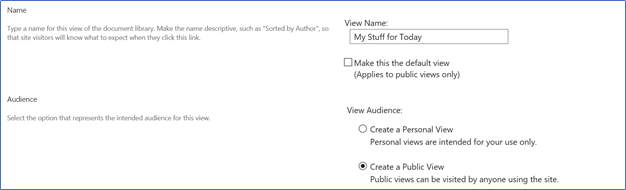
First, you need to name the view. It’s important to choose a name that makes sense to other people.
When creating grouped views an example would be: “Department > Document Type.” You also have the ability to change this new view to the default view. The default view will open when clicking on the app in Site Contents, or clicking on the recent item App name in the Quick Launch.

Depending on your permissions, you will be able to create personal or public views. Most users can only create personal views which are for their own use.

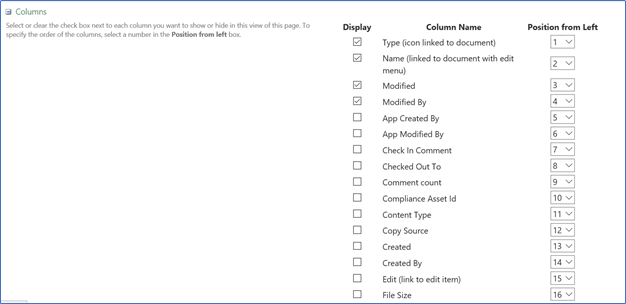
Columns
Choose the columns you would like to display. For document libraries, I always switch on the “File Size” as well as “Checked Out To” Columns. Here, you can also set the order of the column on the page in the view.
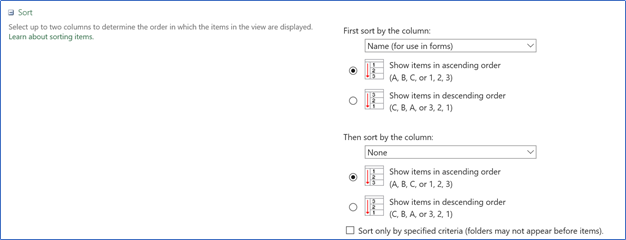
Sort
Sorting indicates the order in which the data will appear. When using Groups, this applies to the groups, as well as the data expanded within the Groups.
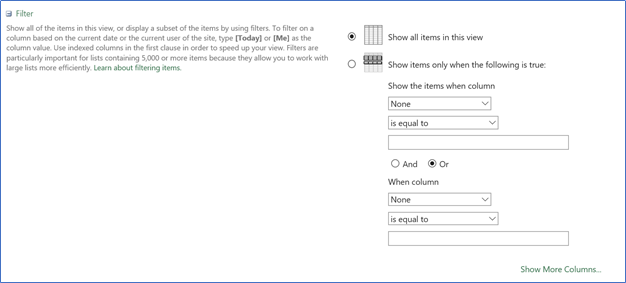
Filter
Filters are great for creating views that should only show specific data. For example, a library or list has multiple items belonging to different departments. Create the view to only show data “when Department = Marketing.”
Tabular View
The ability to select multiple items at once.
![]()
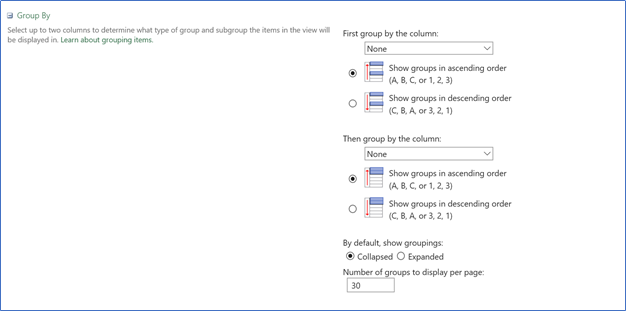
Group By
Think folders: Groups are the best way to group data together based on metadata. Here, you’ll set the number of groups to display at a time as well.
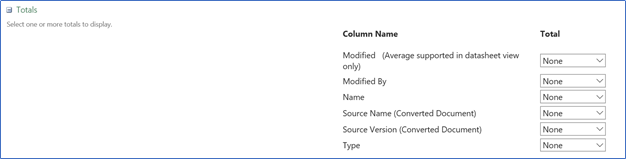
Totals
Depending on the data you have in the column, Totals will allow you to Sum, Count, Average, etc. the data in the column. Some of these Totals only work in Datasheet view. Some totals are currently not working in the new modern lists and libraries.
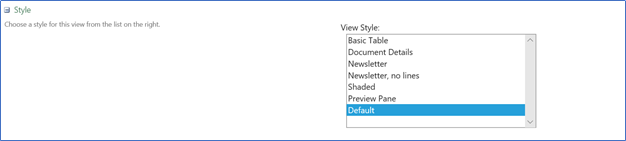
Style
Style allows us to change the way the data is presented. These styles are currently not working in the new modern libraries and lists.
Folders
Now, this is a great setting. It lets you see documents “outside of folders.” I’ll explain in more detail in a tip later on in this post.

Item Limit
That annoying “next 30” link at the bottom of your page can be fixed by changing this. Keep in mind that if you display too many items, the page might take very long to load.

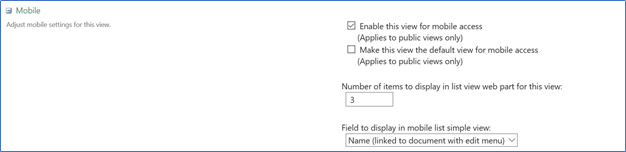
Mobile
This is specifically related to viewing the library or list on a mobile device. I always leave it on 3.
Tip #3: Understand your users
We have the ability to create public and personal views. I always teach my users to create their own personal views, but it is important to launch the app with the minimum “necessary” views. Speak to the users and ask them what they would like to see. How do they find content?
Each view has its own unique URL, which means you can add links from other places to specific views. For example, on your Marketing site you can add a link that goes to the filtered view of the Policies library, which only shows Marketing policies.
Tip #4: Grouped views
The views I create most are grouped views. For example, when not using folders, and users want to see their content grouped by category, then this is the way to do it.
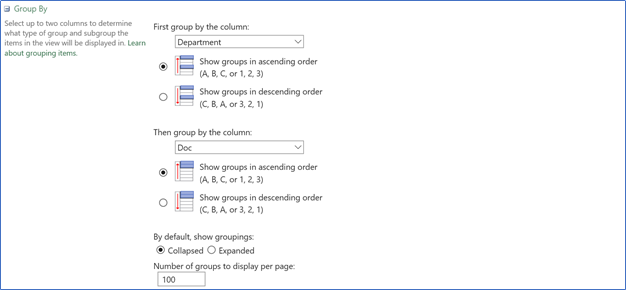
You would first have to add metadata columns to your app. I’ve added Departments and Document Types. Below you’ll see the setting when creating the view:
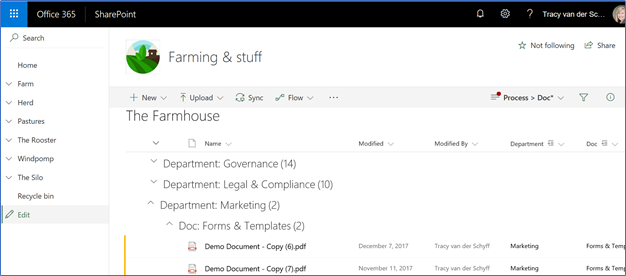
Here’s the end result:
Note: Did you know you can drag documents with no metadata to a grouped section in the view and it will update the metadata?
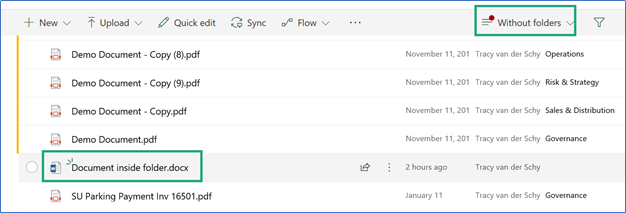
Tip #5: Views without folders
The only time I use these views are when I add permissions on folder level. This means I can have multiple folders with documents and each folder can have different permissions, which apply to that folder and the content inside.
Of course, you’ll have people that have access to multiple folders. This is a great way to create a view where they see all content they have access to.
In the settings of the view, choose “Show all items without folders”:

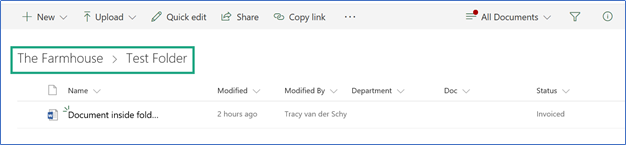
Here’s the normal view with the document displaying inside the “Test Folder”:
In this screenshot, you’ll see the same document lying between the other documents (without the folder):
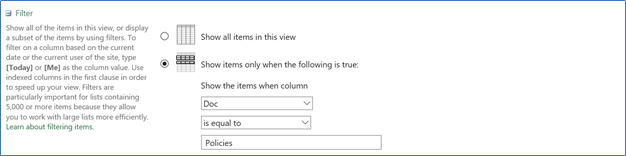
Tip #6: Filtered views
Filtered views are great for displaying a selection of the data.
Imagine libraries with thousands of documents belonging to different departments and document types. I build libraries like these for the controlled documents on Intranets. They contain the Policies, Procedures, Forms, and Templates for various departments.
For example, to create a view that only shows policies, you will add the filter in the settings of the view, the text (typed) needs to be exact:
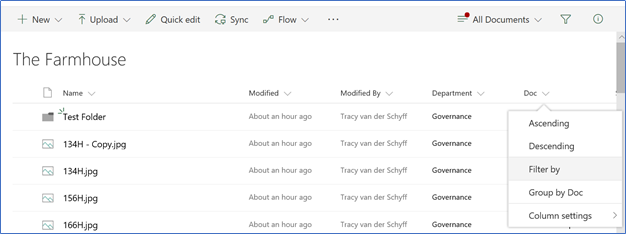
In modern libraries and lists, you can also apply the filter on a view, then save it as a view.
Apply the filter:
Save the view:
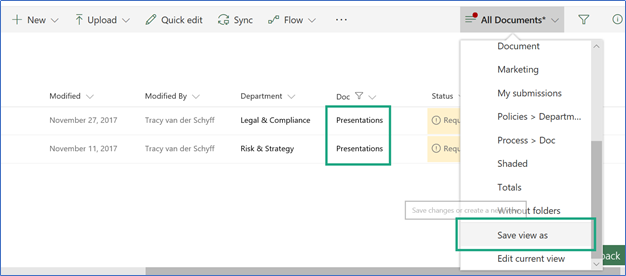
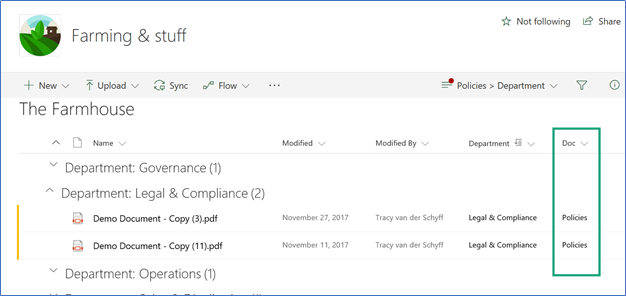
Here’s an example of a filtered view (Policies) which groups the content by Department:
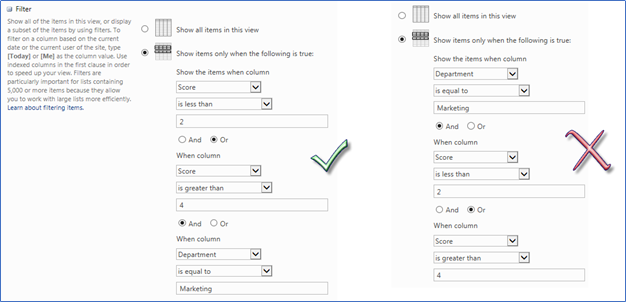
Be careful when creating filtered views that has more than two filters. You have to put the “absolute statement” last. In the example below, I require the view to return data where the score is either lower than two or greater than four and the department is equal to Marketing. SharePoint will test the first condition first – OR, then add the AND condition.
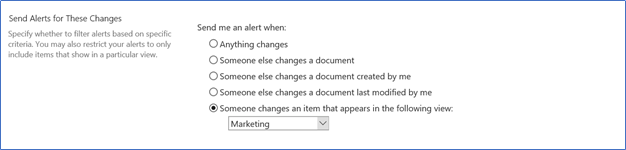
Note: Once a filtered view is created, you can create filtered alerts. This means you’ll be notified if something changes on a specific subset of documents:
Tip # 7: Create views with “formulas.”
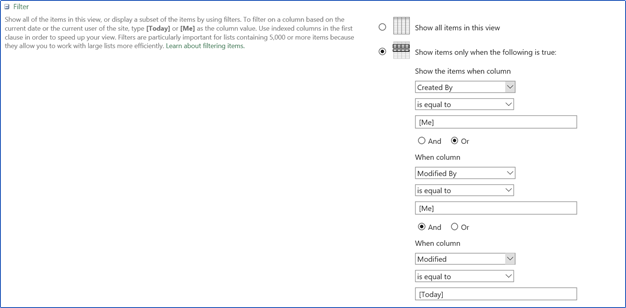
When working in libraries or lists with thousands of items, it helps to see your latest items. In this example, I’ll use the [Me] and [Today] formula. I’ve created it as a public view as anyone can use it.
I then add the filter where Created By or Modified By is equal to [Me] and added AND where today’s date is equal to [Today]. See above tip on adding more than two filters on a library or list.
Item-level permissions
Here’s another cool tip for lists in SharePoint: Go to the List Settings > Advanced Settings. Set the list to only allow a user to read and modify items created by themselves. Remember to give the administrators Approval or Designer rights so they can see everything.

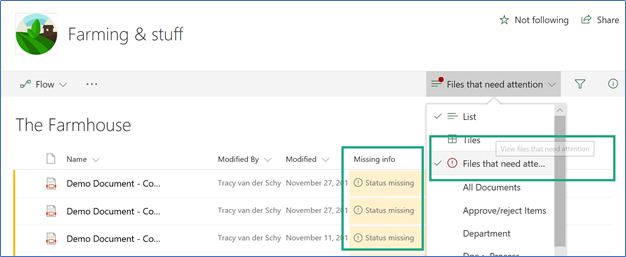
Tip #8: Files that need attention
Files that need attention is a new default view that shows any items that require properties to be completed. I love the fact that it has a little red status indicator above the Views drop down.
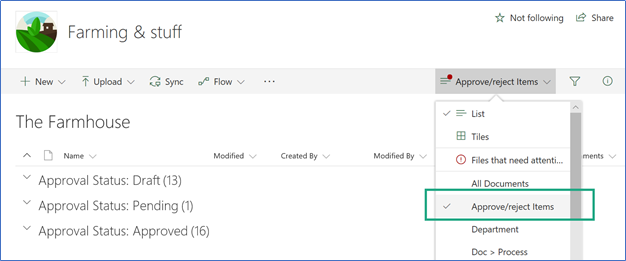
Tip #9: Approve or reject
Approvals is a great feature on Apps in SharePoint. This is OOTB (out-of-the-box) approvals without workflow and uses statuses for the approval of content. With the Approve/Reject View, users with correct approval permissions will be able to navigate to items which need to be approved.
Content will be grouped by status:
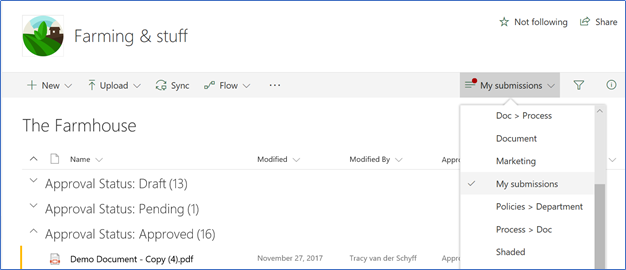
Tip #10: My Submissions
When content approval is switched on, the “My Submissions” view will display all your own items, grouped by approval status.
Conclusion
I do believe an app is only as good as the views you create to navigate the content. Users have a misconception about SharePoint, especially around libraries without folders (using metadata), that their content is in chaos and difficult to find.
Creating great views help users find content, faster, and teach them to create their own views.
Looking to better manage your SharePoint environment?
Making the most out of your SharePoint and Office 365 environment requires more than an out-of-the-box toolkit. See how Metalogix Essentials for Office 365 can help you streamline your collaboration management strategy to better report on usage, manage users and content, and secure sensitive content.