
In this article, we’ll discuss how to add custom Microsoft Teams background images and some key recommendations and use cases.
For many of us around the world, our homes have become our workspace and virtual meetings the go-to method for collaboration. Microsoft Teams includes several standard images that can be applied to appear as your background image while you are in Teams meetings. Whether you’re looking to disclose the reality of your new work environment, want a more professional or personalized setting, or your organization is hosting a special event where a consistent or branded background is desired, a custom Microsoft Teams background image can be added to meet your needs. Below we will cover the steps for the two ways you can change and set a custom background image in Microsoft Teams.
Creating background and thumbnail images
For starters, Microsoft Teams uses two files to define a background. Microsoft typically names the first file with a name that ends with “Teamsbackground” and a number. The second file ends with “Teamsbackground”, a number, and “_thumb”. The included Microsoft Teams background image files use the PNG format; but other file formats like jfif, pjpeg, jpeg, and jpg are also accepted.
When you have an image that you’d like to apply as your custom Microsoft Teams background, you’ll want to use an image editor and set the image resolution to 1920 x 1080 pixels. Other resolutions may fail to upload or display properly. You’ll want to be sure to save the image with a filename and file type following the guidance noted above.
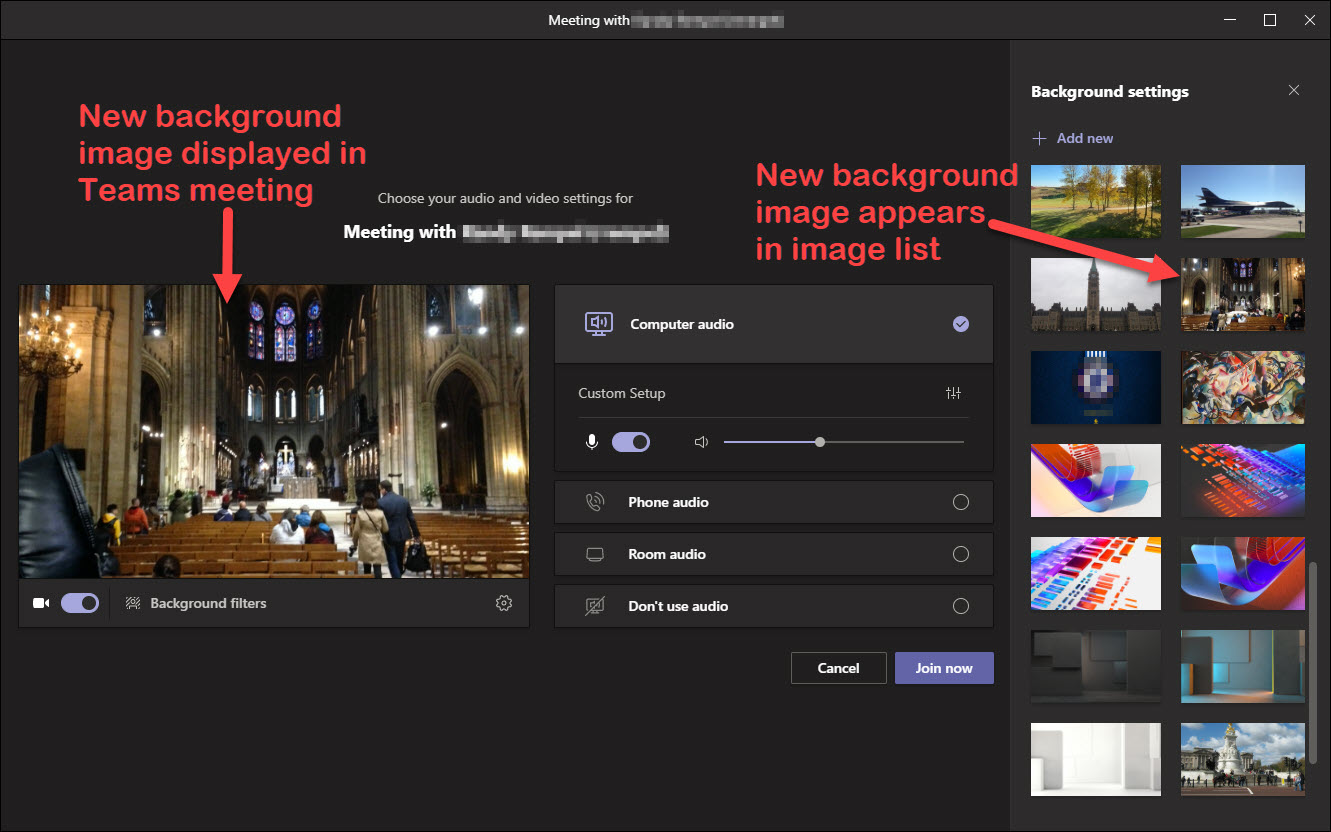
For example, here is a picture of the inside of the Notre Dame Cathedral. This background image is saved as “Cathedral.png”.

To create the thumbnail image, resize your background image and set it to the ideal image resolution of 280 x 158 pixels. Remember to name this file with “_thumb”. For example, this Cathedral thumbnail image is named “Cathedral_thumb.png”.
Note: Below is a screenshot of how the thumbnail image appears in Microsoft Teams. The display of the thumbnail image is trimmed by Microsoft Teams on the top and bottom.

Adding a custom Microsoft Teams background image
The first option that you have for adding custom background images can be done right in Microsoft Teams.
- To do this, go to the calendar view and select an empty space in the calendar.
- Click on [Meet now].
![]()
- A private meeting will begin.
- Turn on your camera.
![]()
- Click on Background filters.
![]()
- Click on [Add new].

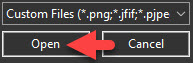
- Then select the background image (e.g. Cathedral.jpg) in the open File Explorer window that you’d like to add and click [Open].
- The selected background image should upload and immediately be set as your new background image. If it doesn’t, you likely need to resize the image to the recommended pixel size and/or select the recommended file type (png or jpeg).
- You will repeat the upload for the thumbnail image (e.g. Cathedral_thumb.jpg).
- The uploaded thumbnail image will be displayed in the Background settings list, in alphabetical order based on the file name.
- The same background image will be used the next time that you start a meeting with your camera turned on.
Adding your Microsoft Teams background image to the uploads folder
The second option available works if you do not see the [Add new] action button in Microsoft Teams or you want to add your image files directly to where Microsoft Teams stores the files.
- To do this, be sure to quit the Microsoft Teams application to prevent any data loss.
- Then open File Explorer and navigate to %APPDATA%\Microsoft\Teams\Backgrounds\Uploads (or copy and paste it into the file path) and press the [Enter] key to display the contents.
![]()
- Copy and paste the image(s) you want to add into the Uploads folder.
Note: You can also open the File Explorer to the above path just to see what files are already stored there. You can also confirm that your background and thumbnail images uploaded properly.
- Relaunch Microsoft Teams.
- Start a new private meeting (see above) and the background images should appear in the Background settings list.
Summary
Adding your own Microsoft Teams background image is a very practical way to provide a consistent look for organizational events and/or add a professional or personal touch to your virtual meetings. As discussed, there are two ways to add background images: you can add an image via a Teams meeting or copy and paste an image to the Uploads folder directly. Regardless of which option you choose, be sure to pay close attention to the image pixel size and file types used. Of course, multiple background images can be uploaded for future use and the final selection setting performed easily right in Microsoft Teams.
For more tips on using Microsoft Teams, check out our post: How to use Microsoft Teams: Putting the team back in teamwork.