

I’ve had so many customers — and even engineering colleagues — ask me how to get the most out of their Quest Secure Copy implementation that I thought it was time to write up a few best practices.
You know that Secure Copy is an automated solution for securely migrating data, shares, printers and more. You know it lets you control how data is migrated and doesn’t require the use of agents or scripts. You know it’s fast, intuitive and works on data migration projects at every level of complexity.
What you may not know is how to fine-tune your settings to really take those migrations to the next level. Let’s dip down into the weeds a bit and see what’s there.
Source and target pathing
Wherever possible, always use a UNC over a mapped drive as the source and target locations. This setup provides visibility into what the operator is doing. Keep in mind that administrators want to move complete directories from one volume to another. That directory is often shared as well, which can bring up other issues when managing the copying of the data.
For example, if you have a server called SOURCE with a user share called USERDATA, it’s possible to use the path \\SOURCE\USERDATA. The problem with this pathing, however, is that the share USERDATA is also the directory that the admin wants to move. Because you are connecting to the server through the share, that directory logically does not exist as it is acting as the root of the UNC.
It would be preferable to use the admin share to point to the directory/share. For instance, if the admin used the path \\SOURCE\C$\USERDATA, Secure Copy could access the shared folder as a folder and copy it. The solution could also identify that folder as a share and be able to migrate the share and the security of both the folder and the share.
This methodology can apply to both the source and target paths.
Create initial source folder under target folder
One of the more confusing options in Secure Copy is create initial source folder under target folder. I get more questions on this option than almost anything else. The previous discussion on pathing, especially the SOURCE path, dovetails nicely with an explanation of this option.
If the admin follows the advice for leveraging the root path of the volume as the SOURCE path, this option becomes very useful. As shown in Figure 1, the option is in the lower left corner of the Copy Locations page of the copy job. This option will create the source folder in the target location of the job.
What that means to the admin is that if the source path is \\SOURCE\C$\USERDATA, the directory referenced — USERDATA — will be created in the target directory as \\TARGET\C$\USERDATA.
This method is the easiest way to move a share point to point, leaving the directory structure and security intact.
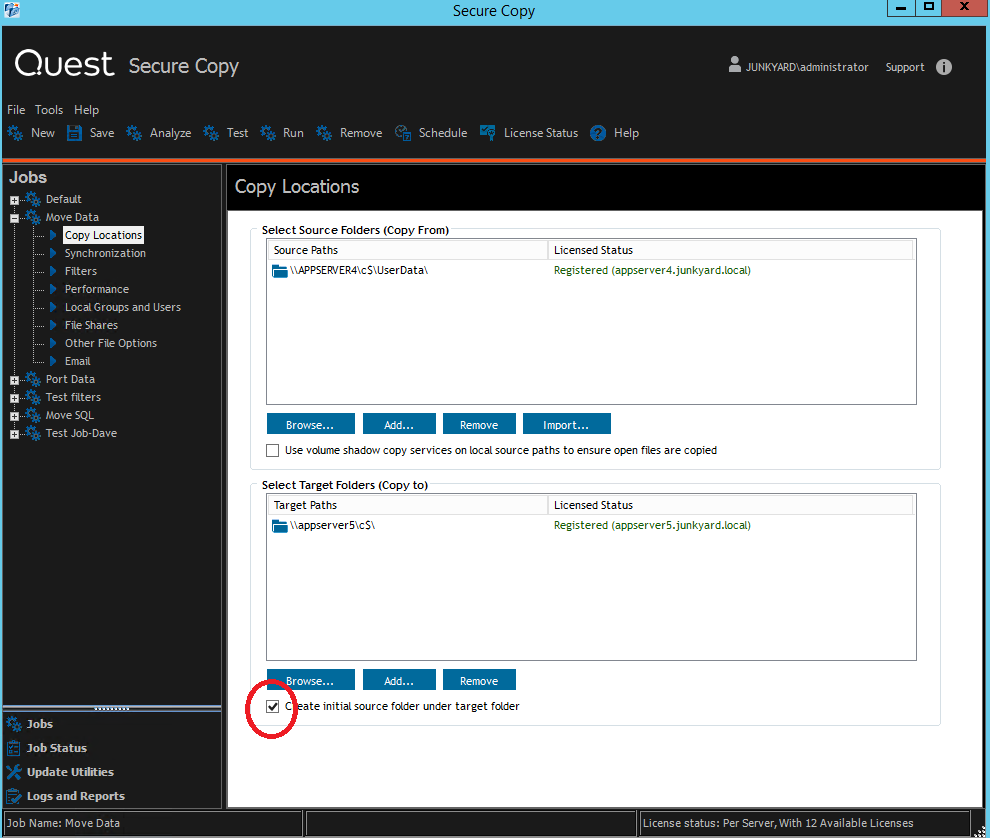 Figure 1. Create initial source folder
Create source root share folder on target
This option pertains to the migration of the share itself. The setting — create source root share folder on target — is found under the File Shares section of the copy job, as shown in Figure 2. This option can be used in place of the create initial source folder option found on the Copy Location page in the Job. It should not be used in conjunction with the create initial source folder option.
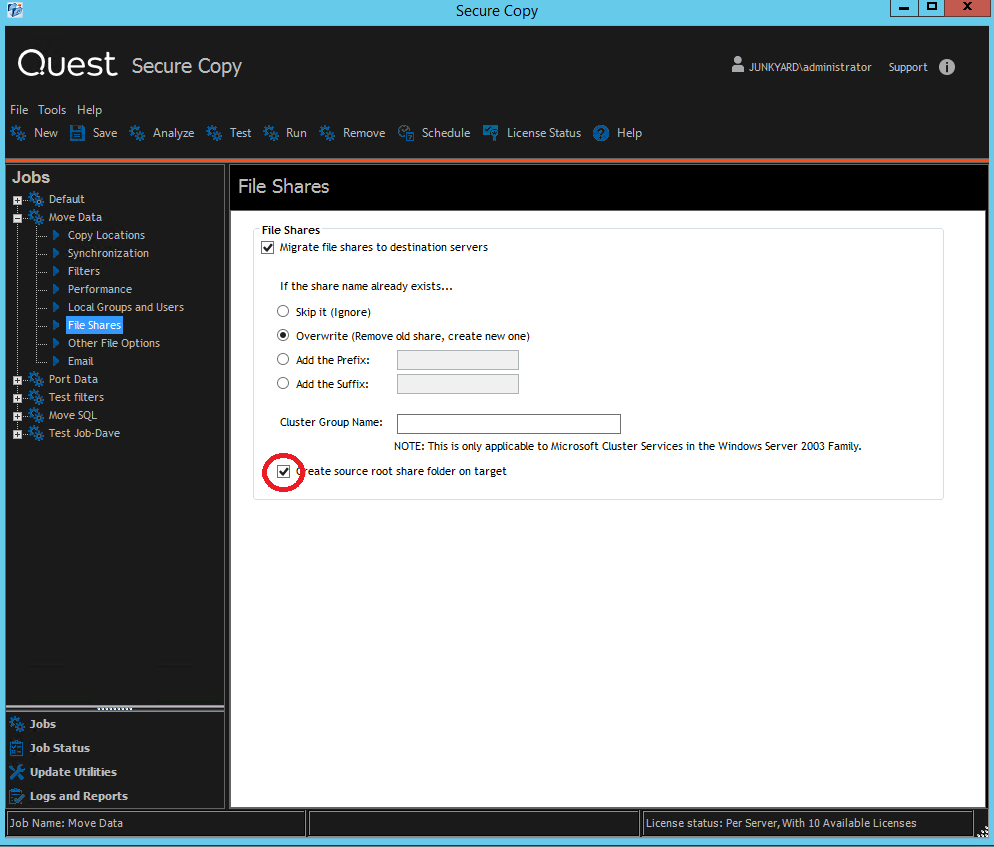 Figure 2. Create source root share folder on target
This option, if coupled with the create initial source folder option in the source and target pathing (both are selected), will create a child directory in the target path of the same name. An example of the path created would look like this: \\Target\C$\Userdata\Userdata, which is not desirable. The share will indicate the share path to be \\Target\c$\Userdata\Userdata as well.
NOTE: By default, Secure Copy creates a folder structure on the target that mimics the folder structure in the source. To ignore the source folder structure, clear the create initial source folder under target folder check box.
