
While on the Quest stand at the recent SQL Pass summit in Seattle I was talking to a customer about custom dashboards. You can find more information on custom dashboards here: https://www.quest.com/community/b/en/posts/pimp-your-ride-with-foglight-custom-dashboards
What the customer wanted was to create something specific for his company. He liked the database main dashboard but wanted to choose a specific number of instances (the important ones) and show specific visualisation icons that he had seen in the drill downs.
So to demonstrate this I created a simple example using instance metrics and out of the box views.
The nice touch here is to prepare a background image in Visio or Powerpoint and upload that to Foglight before you start.
I’ve demonstrated the process in this video but here is an outline of the process.
First of all the background image prepared in powerpoint and saved as a jpeg file.
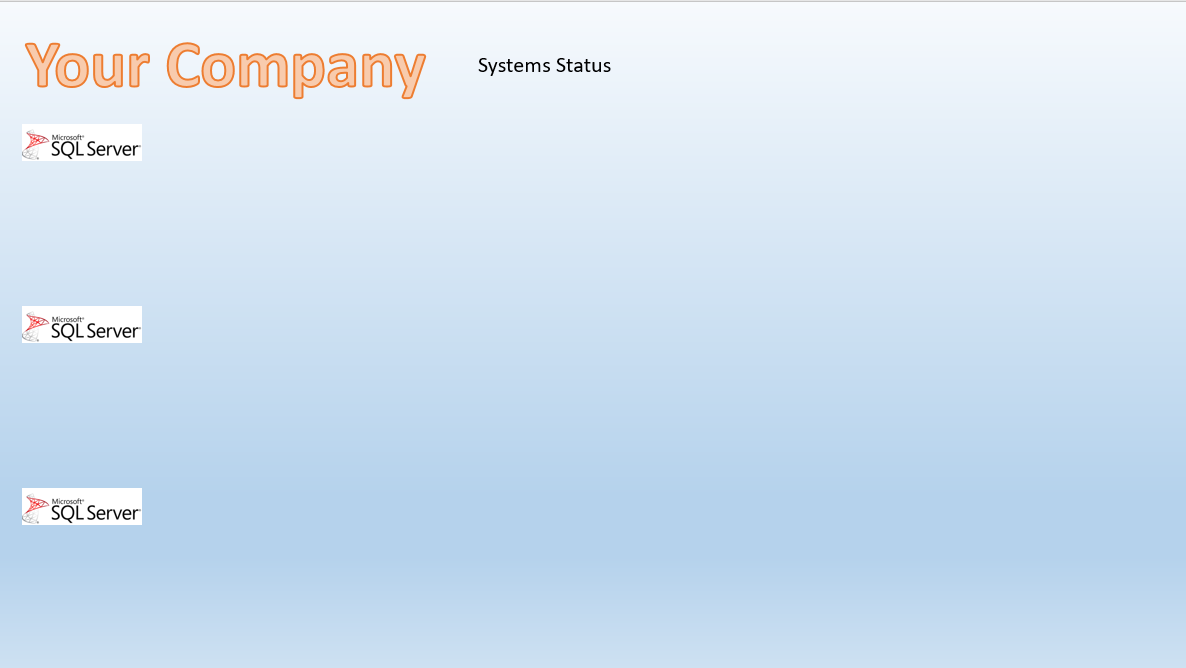
I would recommend icons to show what the instances do, such as CRM, Warehouse, ERP.
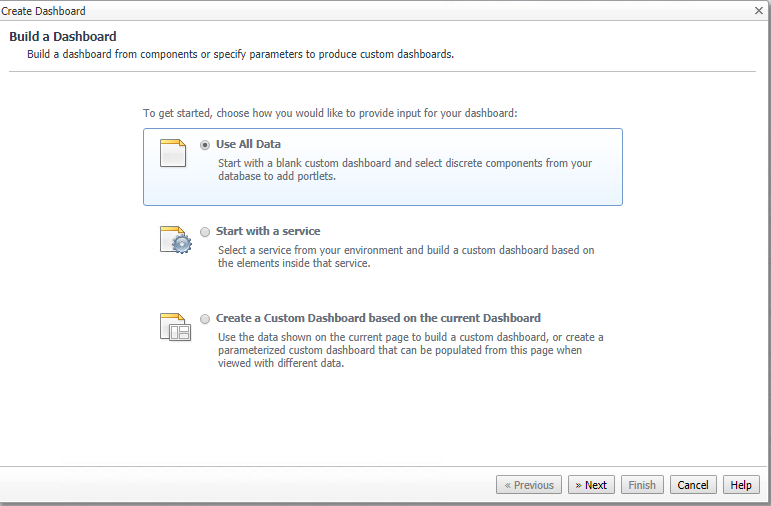
In Foglight create a new dashboard from the right hand drawer menu. Use all data.
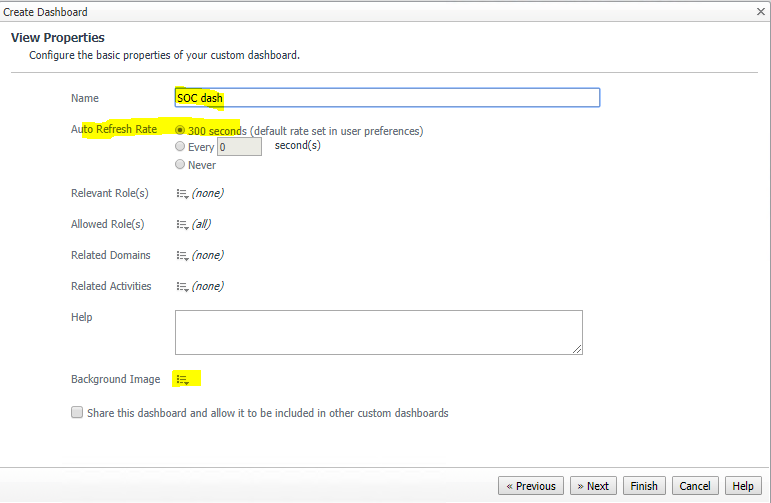
Fill in name, refresh rate and click on background image.
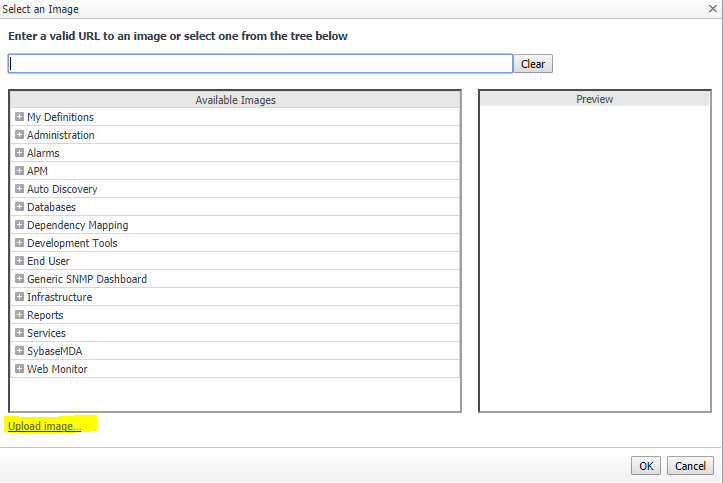
Click Upload image and navigate to your jpeg file. Click ok. Click Next.
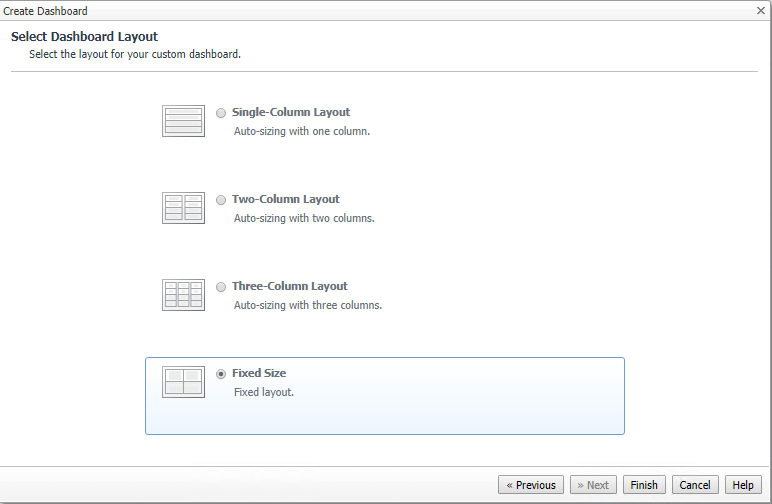
Select Fixed Size and Finish
The wizard will ask for to ‘add dashboard view element’, click Cancel.
Then navigate to Actions/Data and locate your SQL instances as below
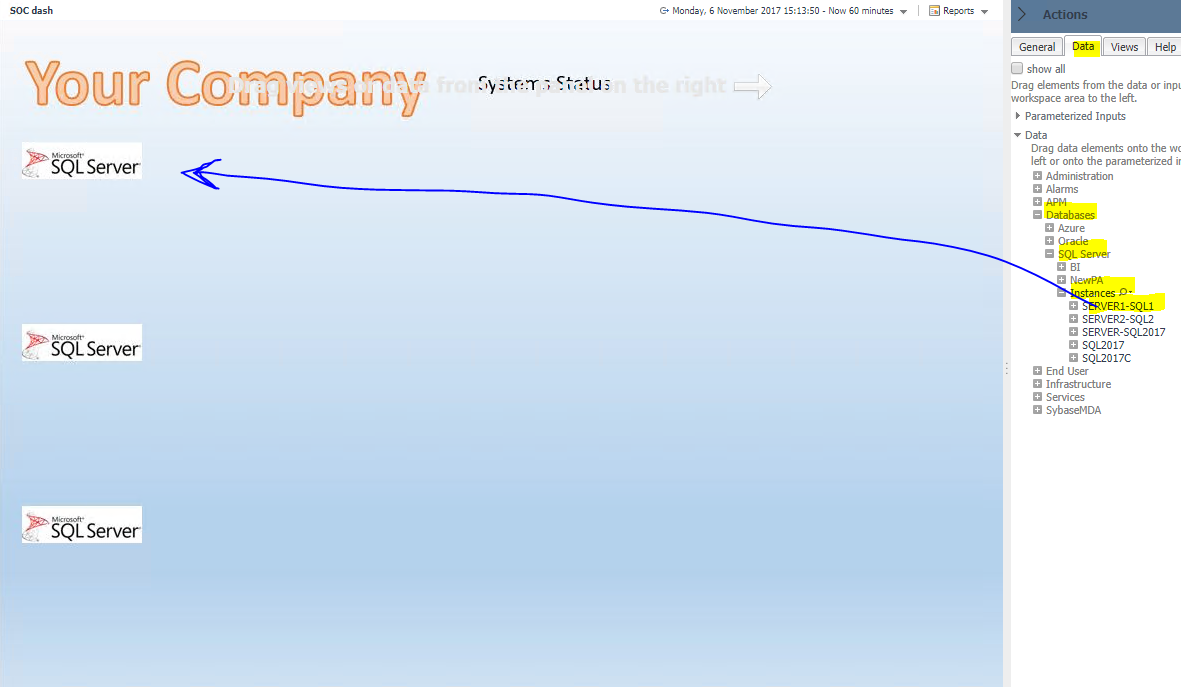
We can then start to drag and drop each instance onto the background and select a view or metric.
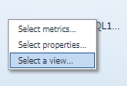
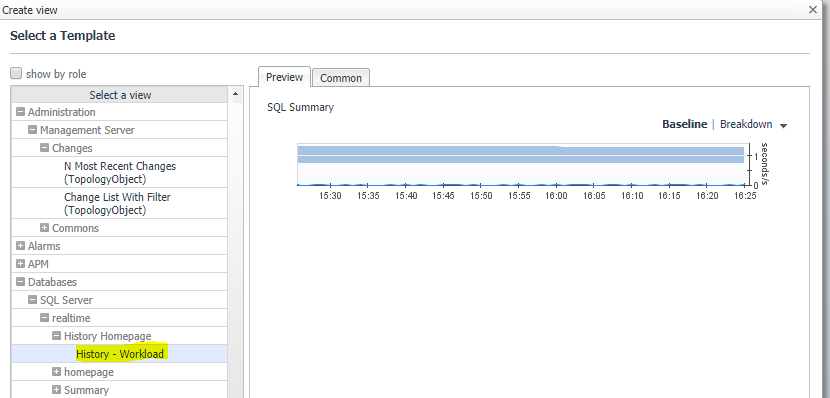
We will start with view because here we can choose from a range of pre-packaged views that are relevant to the instance such as:
or
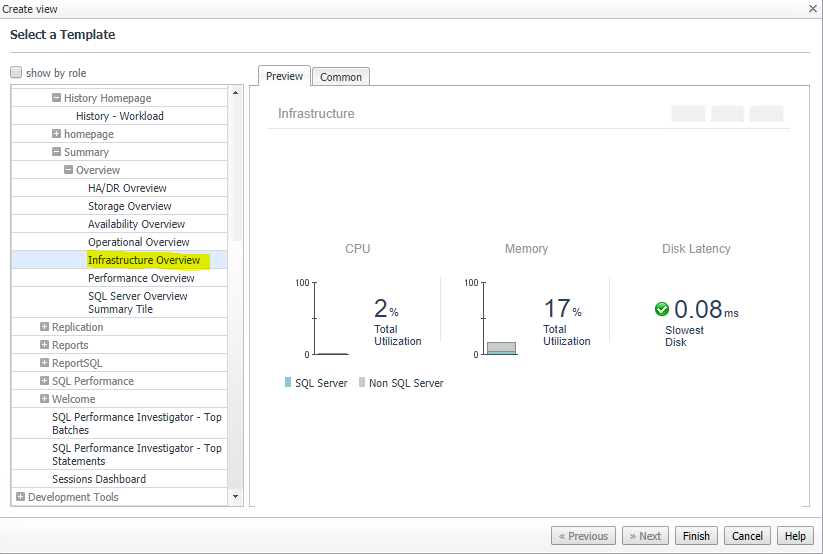
But I will go with:
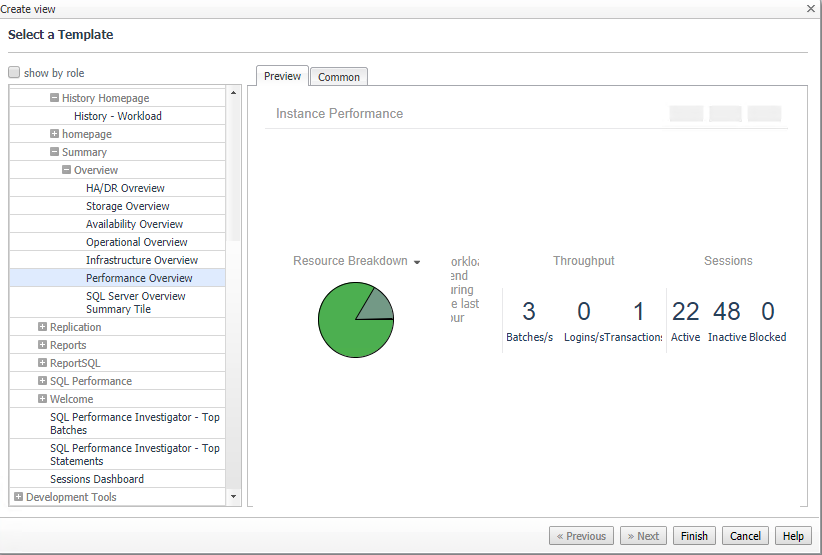
Repeat for the three instances, then choose different metrics or views and finally click Edit Page Layout to position and customize.
Final solution looks like this:

View the full video of creating this dashboard here:
