
Many customers ask how they might integrate Foglight Alarms into other 3rd party monitoring tools. One way to accomplish this is to send SNMP traps in response to a Foglight alarm.
To configure Foglight for this capability, you need to first download the MIB file. ‘MIB’ stands for Management Information Base. The file is a collection of definitions that define the managed object properties.
(Note: Port 162 (SNMP default) also needs to be open between Foglight Management Server (FMS) and the SNMP target host.)
1. Left flyout menu: Under Dashboards, Administration>Cartridges>Components for Download.
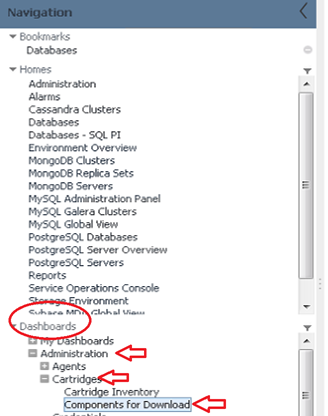
2. Download the MIB file. The MIB file should then be imported to your SNMP target.
Name: FoglightTrapActionMIB v2 / Cartridge Name: Send SNMP Trap Action / Component Name: MIB

Though there are a few ways to implement SNMP Traps with Foglight, the following steps are to set-up a trap based on a particular Foglight alarm firing…in this case, the Deadlocks alarm.
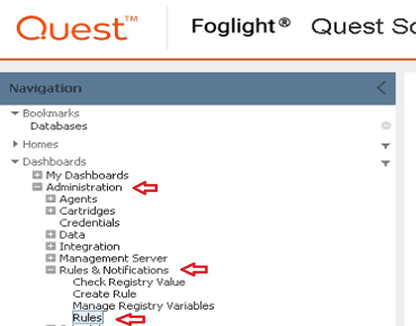
1. Left flyout menu: Administration>Rules and Notifications>Rules.
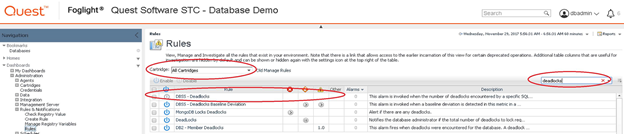
2. Dropdown: All Cartridges / Search field: 'Deadlocks'.
3. Copy (a bit ‘safer’ vs view and edit).
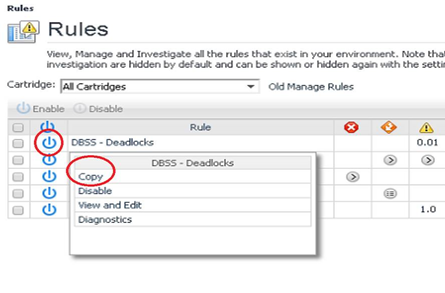
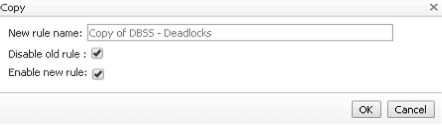
** Note: Once the copied/edited rule is created, it will be listed under the
‘Non-Cartridge’ option…

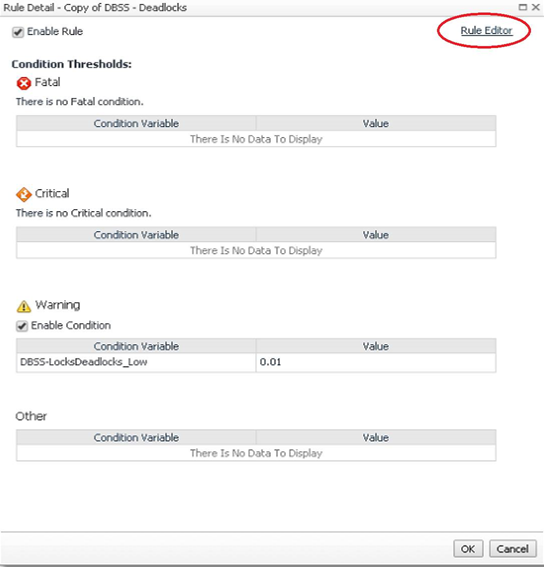
4. Then, Edit the Copied Rule…and choose 'Rule Editor'.
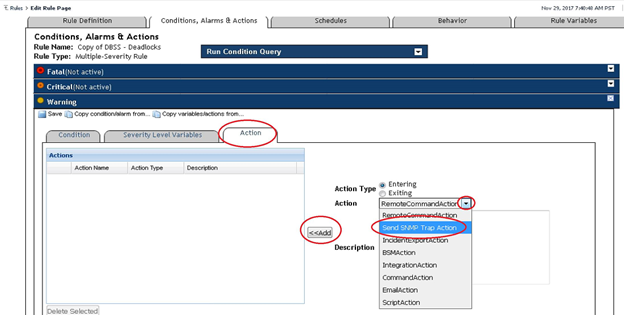
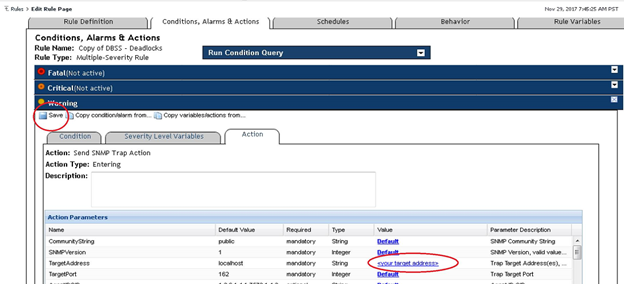
5. Choose a severity level > Action tab > Action dropdown > Send SNMP Trap Action > Add button (to move to left side).
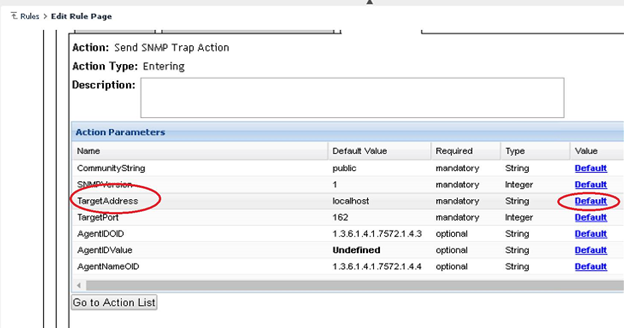
6. Click on the Default link. Customize/Modify the ‘Target Address’ value. There may be other fields that need to be updated depending on what/how you’re looking to accomplish.
7. Choose the User Defined tab > Change button > Enter new value
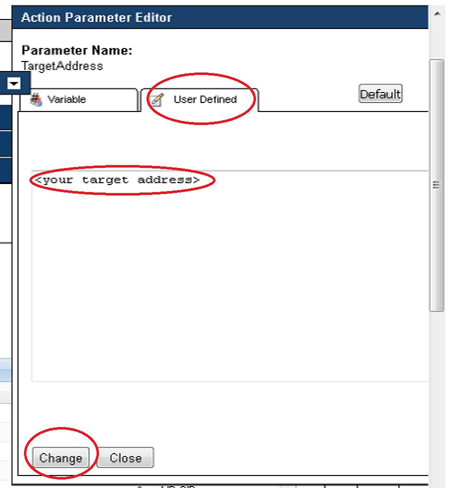
8. SAVE it
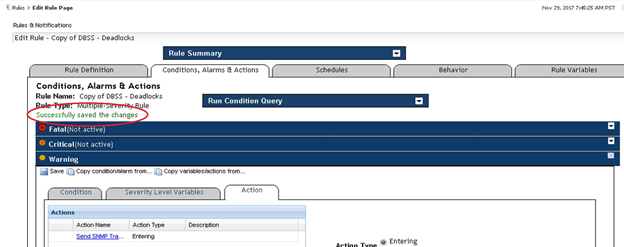
You should now be ready to leverage Foglight to send SNMP Traps in response to the alarm.
For more information, or to request a trial, visit the product page: Foglight database monitoring
