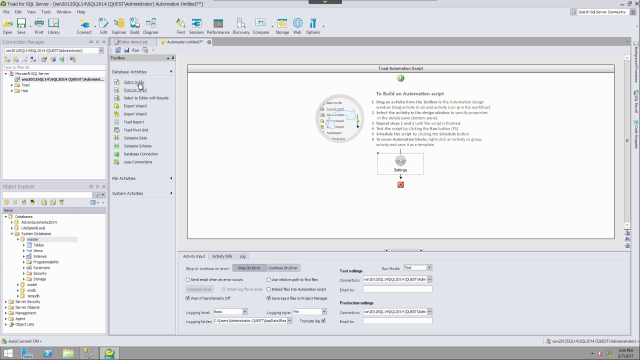
Automation basics in Toad for SQL Server (Part 1)
 05:55
05:55
Related videos
Millions of data professionals swear by Toad for SQL Server
Discover the highest level of code quality, performance and reliability – while saving time and streamlining development tasks.
01:29
Working with Group Execute in Toad for SQL Server
Learn how to view and work with Group Execute in Toad for SQL server.
02:33
Variables and flow control in automation for Toad for SQL Server
Learn how variables can be used in the Toad for SQL Server editor and in automation. This short video covers: prompting users for inputs in automation, creating...
06:43
Schema Compare in Toad for SQL Server
Watch this short video to learn about the schema compare tool in Toad for SQL Server.
08:15
Overview of the user interface in Toad for SQL Server
This video provides an overview of the user interface in Toad for SQL Server, including general information about menus and windows, with details on object expl...
04:19
Optimizing SQL Server code in Toad for SQL Server
In this short demo, you will learn how to optimize your SQL Server code in Toad for SQL Server.
04:03
Using log reader in Toad for SQL Server
This video shows features of Log Reader in Toad for SQL Server, including a quick example of how to recover data that has been inadvertently updated. It also sh...
06:23
Managing connections in Toad for SQL Server
This video covers managing connections to SQL Server databases for the first time in Toad for SQL Server. Topics include: importing connections from SSMS, Conne...
06:06
How to use the "SQL recall" tool in Toad for SQL Server
Learn how to view, use and edit the SQL recall feature for Toad for SQL server. Toad for SQL Server maximizes productivity through extensive automation, intuiti...
03:40
How to install Toad for SQL Server
This video covers the basic installation of Toad for SQL Server, discusses prerequisites, gives an overview of products in the various bundles, and shows where ...
04:02
How to import connections in Toad for SQL Server
Learn how to import connections in Toad for SQL Server, our solution for database management and administration.
03:45
Getting started with the editor in Toad for SQL Server
This video gives a brief overview of the editor in Toad for SQL Server. Topics include how to open and change connections, and features of the tool bar, editing...
05:43
Data Compare in Toad for SQL Server
Watch this short video to learn about the data compare feature in Toad for SQL Server.
08:50
Data compare and sync in Toad for SQL Server
Learn how to use data compare and sync in SQL Server in Toad for SQL Server from Quest.
06:20
Creating connections to SQL Server databases in Toad for SQL Server
Learn how to create connections to SQL Server databases in Toad for SQL Server, a SQL server database management tool allowing for extensive automation, helping...
06:13
