

RemoteScan versions 10.8 and higher support Fujitsu’s proprietary ScanSnap drivers for the following Fujitsu ScanSnap models: iX500, iX100, S1100i, and S1300i. To configure RemoteScan to work with these models, you will need to install the Fujitsu ScanSnap Manager on the workstation(s) that will be scanning. Once installed, you will be able to use these ScanSnap models in any kind of remote desktop, Citrix, VMware, or Azure environment, using the native scanning functionality of TWAIN or ISIS scanning applications. To get started with this, follow the steps below:
- Install ScanSnap Manager version 5, or higher.
- Install/upgrade to RemoteScan Enterprise 10.8, or higher.
Make sure the check box to “Update to allow ScanSnap scanning” is checked in the installation wizard.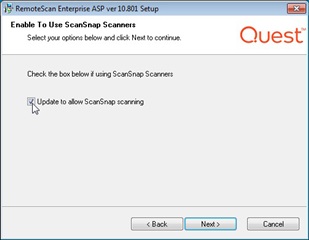
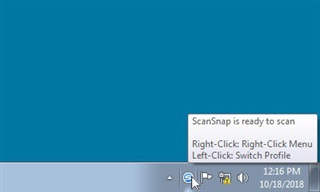
- Right-click the ScanSnap Manager tray icon.
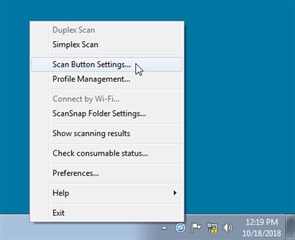
- In the ScanSnap Manager menu, select “Scan Button Settings…”
- In the ScanSnap Manager window, uncheck the “Use Quick Menu” option.
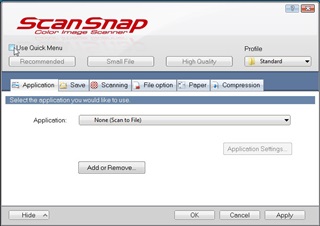
- In the ScanSnap Manager window, select the “Application” tab and choose “RemoteScan” as the application and click OK.

- Right-click the RemoteScan Enterprise Server tray icon on the local desktop.

- In the RemoteScan menu, hover over “Choose a ScanSnap Scanner” and click on the model of ScanSnap Scanner you would like to use.
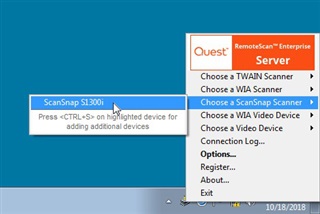
RemoteScan is now ready to use for remote scanning using a ScanSnap scanner.